
Stage to Studio 101 for Guitarists
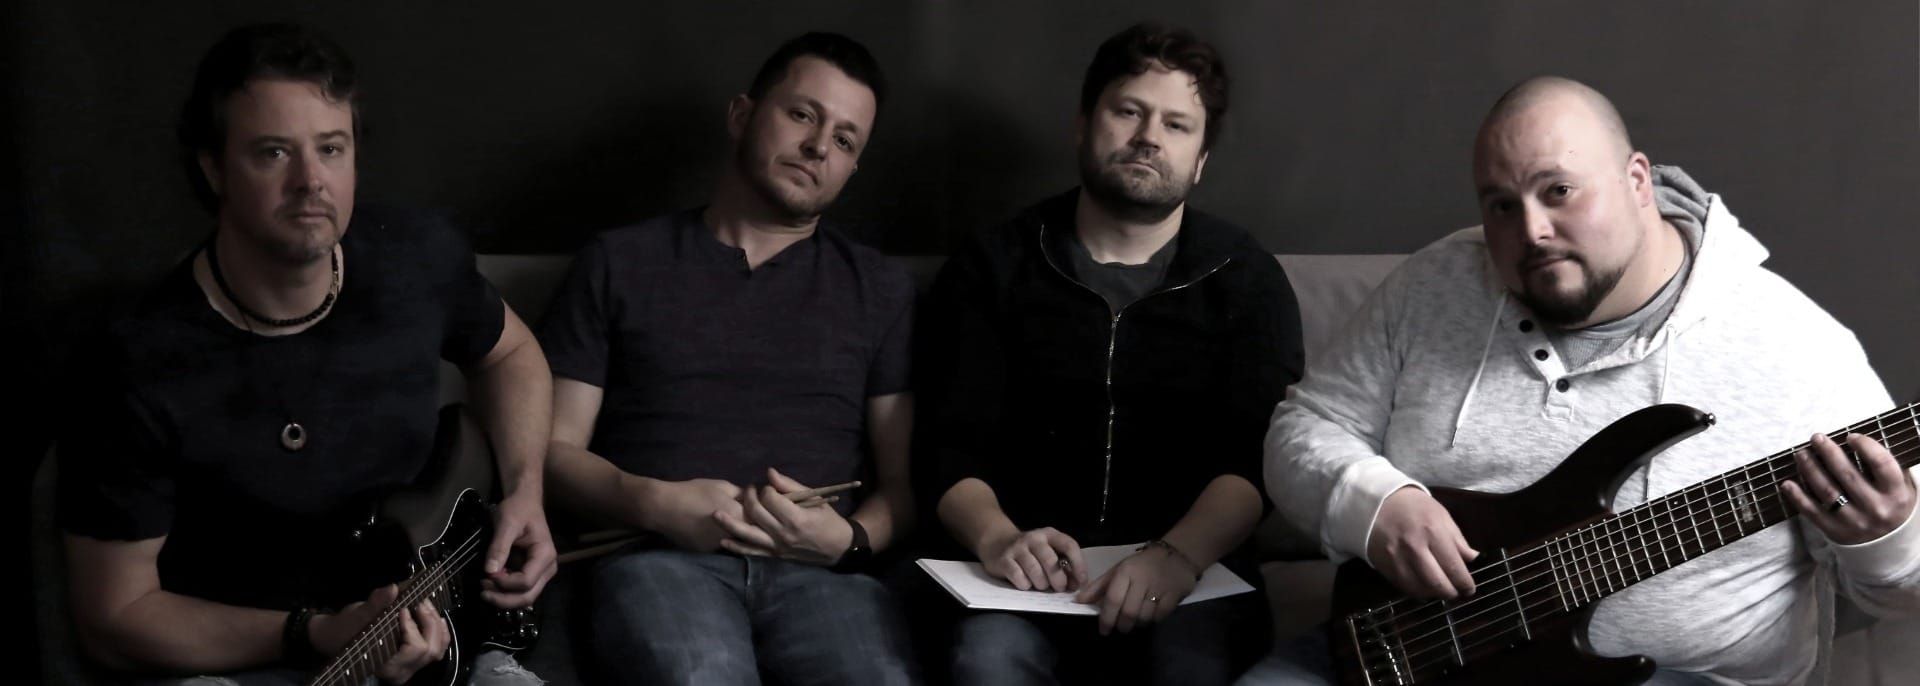
Congratulations! You’ve put together a killer band, written the next Sgt. Pepper’s, played fulfilling gigs to packed houses and now you’re ready for the next step; recording your music. You’re comfortable playing in rehearsal and live settings but haven’t been in a Recording Studio before and don’t know what to expect. Grab your guitar, and let’s take a walk from Stage to Studio.
A recording studio can be an exciting and intimidating place to walk into for the first time. You may feel like everyone knows more than you do. There may be Producers, Engineers and other more experienced Artists walking around talking about “vocal fry”, “overhead bleeding” and requiring “multiple cuts”. Fear not Squire! You are ready for this new challenge. Rest assured that every artist likely felt this the first time they walked into a studio. It’s an opportunity for personal and artistic growth, carpe diem!
A Little Housekeeping
Let’s talk general etiquette for a second.
Be punctual. Arriving a little early will keep you calm and also maximize your in-studio time. Arrive 10-15 minutes before load-in and have your gear organized, cables neatly coiled and stored for easy and efficient setup. Remember you are on the clock so paying full-pop to uncoil an angry snake’s nest of cables is a poor way to spend your scratch.
Bring everything you think you’ll need. The studio will likely have a way to cover you if you forget something, but run through a checklist the night before to avoid becoming “that person”.
Be cool. Unless specifically directed to do so, please refrain from putting your feet on the couch, or your drink anywhere near the expensive equipment, and don’t place it within spilling distance of your pedal board if you brought one with you. A water bottle with a closable lid helps with this. Be respectful and polite, this will help foster good relations between yourself and the person you will be interacting with most frequently: the Engineer. Remember, they do this professionally, likely have a Post-Secondary education in the audio field and like you, want the best possible results for their efforts. Their name is on the project too so take their advice to heart and learn from them.
Time to RAWK!
Generally, you’ll set up and record the entire band live off the floor. One major difference between stage and studio is that you may not be in the same room as your Amp. It may be isolated in another room to cut down on “bleed” into the drum mics so you may be playing while wearing headphones. Try playing through headphones at home to get used to the difference. In-studio you may have a Personal Mixing Station to adjust Instrument and Vocal levels to your liking in your Headphone Mix. In this scenario, everyone can adjust their headphone mixes without affecting anyone else's so take a couple of minutes to get what you need. You’ll play and sing better if you can hear yourself. During this part of tracking the drummer and bassist will likely lay their “forever tracks”. While the bassist can come back and lay overdubs (touching up mistakes), it is more difficult for the drummer to do so later.
Thunder rolls, dark billowing clouds gather, a circumpolar wind batters the shutters and we are faced with that malevolent entity: the Metronome or Click-track (Click). You’ll likely record to Click, this helps keep everyone in the “pocket” and makes overdubbing easier. Many players think they play at a consistent tempo, the click may prove you wrong and not give one identifiable hoot. Playing to click can be an adjustment, even for the rhythmically gifted drummer, so practice at home/rehearsal.
Pre-production and multi-tracking
If you can, record yourselves and take some time to listen between rehearsals to tighten up arrangements, work out harmonies and sync rhythm parts before you go into recording. This phase is called pre-production; do the detail-oriented work. Work out tempos in rehearsal, not in-studio on the clock. Figure out the correct BPM for each song, make a note of them, then bring those notes with you. This will save a lot of time for the Engineer as they can now easily set the tempo for each song.
In rehearsal and on stage you play your parts once. In the studio you may be asked to Double or Triple-track certain parts, likely choruses and parts that need emphasis. To do this you will have to play the part EXACTLY the same, and to a click. This can be challenging at first but you’ll get used to it. Assuming you can record the song at home/rehearsal to a click (or have the drummer follow a click) then later try doubling your part to get a feel for the nuances. If you have a part that requires you to stop playing chords and play a fill instead, you will likely need to keep playing the chords in place of your fill, playing your fill separately on another track. Prepare beforehand by playing the songs through without fills then try playing just the fills. If you turn the pedals on and off during a song, each tone will likely be on a separate track. Segmenting parts can be disorienting at first as you bounce from track to track. Make notes and keep track of which tracks/fills you’ve played so that you don’t go home and hear one small part missing when you receive a bounced mix. This happened to me once and I had to take my entire rig back to record one crucial 10-second passage. It’s not hard to miss one fill during an eight-hour session. If you make a mistake keep playing as you would on Stage, you can always go back and fix it after you finish the take.
Getting Tonez
So, your Rawkin’ Banger requires lots of Overdrive or Distortion. You may be surprised by how far down the Engineer asks you to turn your gain knob. Gain causes compression and compression coupled with high gain can cause a “woofy” low-end. The cure for lower-latitude-latency is to turn the gain up to where the sound starts to get smeared or loose, then back the Gain down from this threshold and dig in harder with your picking hand. Coupled with double or triple-tracking this will produce a heavy yet articulate tone. This happens because gain is cumulative track over track. It does however change the “feel” of your playing as you lose some of that nice spongy response as things clear up a bit so, you guessed it, practice playing with lowered gain at home/rehearsal.
Many issues can be fixed in post-production, but some of the more difficult to fix are related to excessive reverb or delay on the source signal. Unless asked, keep delay and reverb to an audible minimum when tracking, it can be added easily in post but less easily removed.
While making an album is a marriage of work and passion and requires tons of effort; it’s worth every ounce. The phrase “Labour of Love” comes to mind and while the love feels fantastic, the first word is labour. I hope the outline above helps you prepare effectively for your journey. Be prepared, and well-rehearsed, then just turn it up and enjoy the ride!
Dave Broadhead is a songwriter, guitarist and vocalist with over 30 years of gigging and recording experience. He plays in the indie rock band Shoemaker Levee.